|
Click on any image to see a full-sized version. |
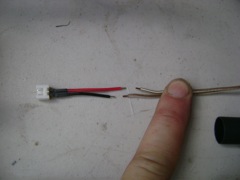 Strip 1/8" from each wire Strip 1/8" of the insulation from each wire. |
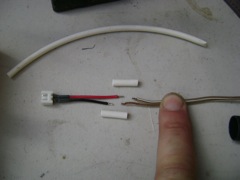 Tin the Ends Tin the ends of each wire. Also, you'll need some small heat shrink tubing to protect these connections. |
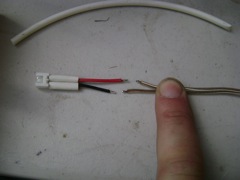 Position the Heat Shrink Tubing *BEFORE* soldering I slide the heat shrink tubing over the connector wires, right up to the connector itself. It should be at least 1/2" from where you will be soldering. |
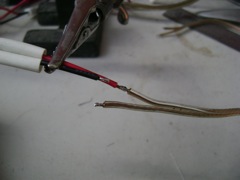 Solder the Lead Wires Solder each lead wire connection by holding the wires in contact to each other and touching the soldering iron tip to them. I usually add a tiny dot of solder to the tip to help with heat transfer. The whole soldering process should take only a second or two. As soon as the solder flows, remove the iron but hold the joint motionless. A second later the solder will freeze and you can let go. |
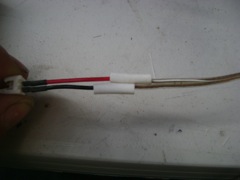 Position the Heat Shrink Tubing Over Each Joint Slide the heat shrink tubing over each joint. They won't line up with each other, of course. |
 Shrink the Tubing I used a lighter to shrink this tubing. It leaves a black carbon residue, but as long as it doesn't get charred and brittle it is fine. |
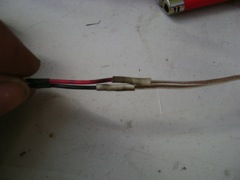
 Finished Lead Wire Connector This is a finished lead wire with connector, ready to be soldered onto the terminal end of the rope light. |
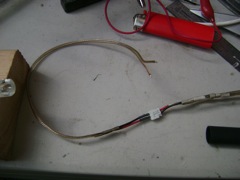
 One Last Test I always test one last time to be sure I am making the correct connection. |
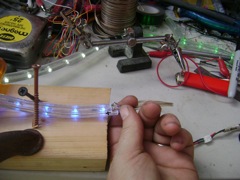
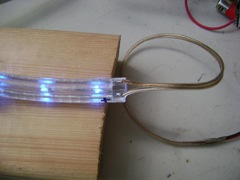 Solder the Terminal Connections Finally, I solder the lead wire to the terminal end of the rope light connections. Like before, you only need to melt the tinned ends of the lead wires to the connectors. |
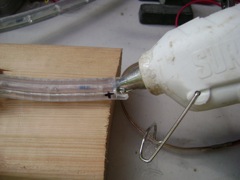 Inject Hot Melt Glue I inject hot melt glue into the central hole of the terminal end of the rope light. Not only does this seal the end so water doesn't infiltrate, it also provides a better grip on the end of the rope light for the rest of the hot melt glue you will apply to the end. |
All information herein is Copyright 2009 by Howard Cohen, all rights reserverd Worldwide. |