|
Click on any image to see a full-sized version. |
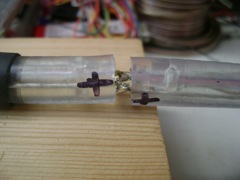 That Solder Joint is Done! This is what it looks like when the solder joint is done. |
 Test the Connection Before you add hot melt glue and shrink the tubing, test the connection and make sure it works. Now is the time to fix any problems. The most common problem is reversed polarity. That will mean that one segment will light and the other won't. Switch the power wires and the reverse happens (the other lights and the first won't for example). If you have to desolder a joint, just pull a little on the two ropes and touch the soldering iron to the joint -- it will just come apart. You may need to tin it again. |
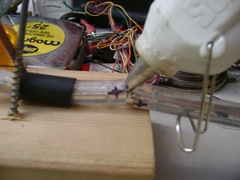 Inject Hot Melt Glue I inject hot melt glue into the central hole of each of the segments of rope light to help keep any water out and to reinforce the hot melt glue I add into the gap itself. Then I inject hot melt glue into the gap itself, being careful to ensure that both solder joints are well embedded in glue from all directions. Scrape off any excess glue that extends beyond the edges of the rope lights themselves. If you let it cool, you can cut the excess glue with an exacto knife. Careful, hot melt glue burns skin! |
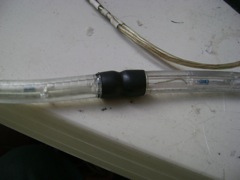
 A Well-Glued Connection This connection is well glued. The glue isn't strong enough to really reinforce the connection, but once it is inside the heat shrink tubing it adds to the water-proofing and structural support for the segments. |
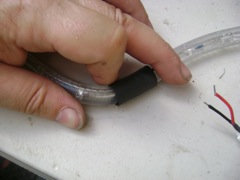 Positioning the Heat Shrink Tubing The heat shrink tubing is just slightly larger than the rope light. It is also lined with glue, so there is a lot of friction. I found that I could flex the rope light back and forth while holding opposites sides and that would force the heat shrink tubing along the rope light like an inch worm. |
 Positioning the Heat Shrink Tubing -- continued Once flexed in one direction, place a finger or thumb over the convex side of the bend right at the edge of the heat shrink tubing to keep it from slipping on that side. When the rope light flexes the other way, the tubing will slide a little further. |
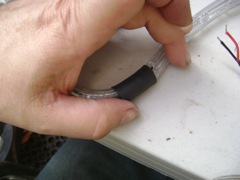
 Positioning the Heat Shrink Tubing -- continued Repeat, flexing one way and then the other, until the heat shrink tubing is centered over the gap. |
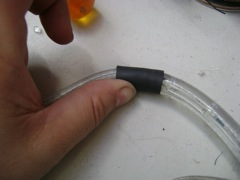
 Testing the Rope Light Position You can test where the gap is in relation to the heat shrink tubing by using a finger nail. The gap should be centered with respect to the heat shrink tubing. |
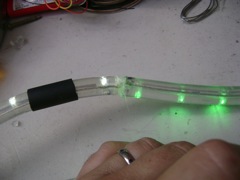
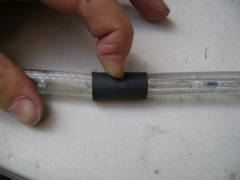
 Shrink the Tubing A heat gun is perfect for shrinking the tubing, but you can also use a lighter if you keep it moving so it doesn't char the tubing or rope light. Keep heating the tubing until the middle shrinks over the gap and you see the hot melt glue on the inside of the tubing squeeze out onto the rope light. |
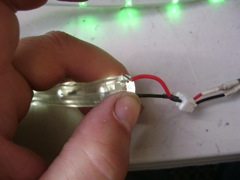
 Preparing the Terminal Connection Connecting rope lights end-to-end is great, but eventually you'll need to connect one end to a power supply. I call this the terminal end of the rope light. Begin by cutting away plastic from only one side of the wires. The wires are usually closer to one side of the plastic tubing than the other. I cut away the thinner side and leave the thicker side there to help protect the terminal connections. |
All information herein is Copyright 2009 by Howard Cohen, all rights reserverd Worldwide. |