|
Click on any image to see a full-sized version. |
 This is LED Ropelight The ropelight has three LEDs in a row, with a resistor connected in series. You can cut between sets of three. If you look carefully, you can see a zone between sets of three that has only the two wires that run down the sides. |
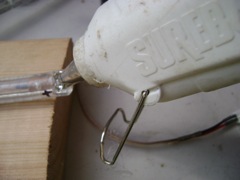
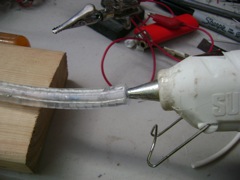
 Seal and Protect the Terminal End with Hot Melt Glue Now I add hot melt glue over both contacts and onto the lead wire. I make sure the end is built up with enough glue to really protect the entire joint. One reason I only strip the plastic from one side of the terminal end is so that the rest of the plastic can help protect the joint. |
 Still More Hot Melt Glue Hot melt glue is pretty cheap... glop some more on there to help protect the joint. |
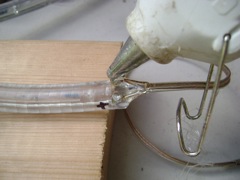
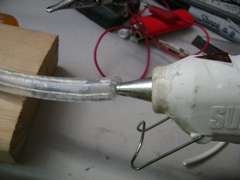
 Inspect the Terminal End Look at the coverage of glue from all angles to make sure there aren't any gaps that could allow water into the electrical connections. |
 Inspect the Terminal End -- continued That means you have to turn the rope light over to look at the other side too... |
 Protect the Remote End The last step is to protect the remote end of the rope light (the opposite end from the terminal end you just finished). |
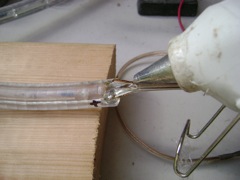
 Inject Hot Melt Glue I inject hot melt glue into the remote end, so it fills up about 1/2" of the central tube. |
 Coat the Remote End Then I coat the remote end while the injected core is still molten. The goal is to cover the entire end, covering both wires (which are flush with the plastic end). This keeps water from reaching the contacts. If you suspect that your rope lights will get some abuse on their ends, you could use the adhesive lined heat shrink tubing and pinch about 1/2" of the tubing together while its glue is molten (using a pliers) to make a stronger, sealed end. |
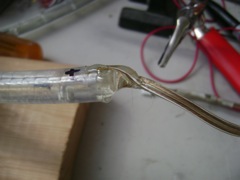
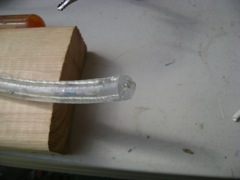 The Remote end is Finished! You're done! This is what the remote end looks like when it is well-covered with hot melt glue. |
All information herein is Copyright 2009 by Howard Cohen, all rights reserverd Worldwide. |