|
Click on any image to see a full-sized version. |
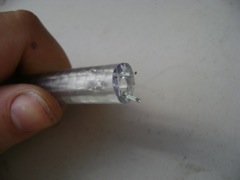 The Wires are Stripped! If all goes well, you'll expose the two wires without cutting them. If a few wires get cut, it is OK. But if only a few wires remain, that is probably not so good. |
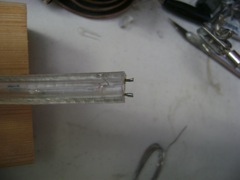 Tin the ends First carefully twist the wires to collect any loose wires and make them all sit next to each other, like a twisted cable. Then, using a soldering iron, tin both wires. That means melting some solder into the wires so they each become saturated with solder. Also, trim the ends of the wire so they are only 1/8 inch long coming out of the end of the rope light. |
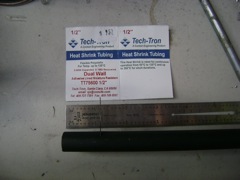
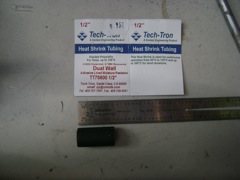
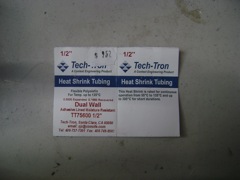 Heat Shrink Tubing with Hot Melt Glue I found an excellent way to reinforce and protect the end-to-end connection is with this hot melt glue lined heat shrink tubing. It costs about $10 for four feet. I used the 1/2" size, which just barely fits over the rope light. |
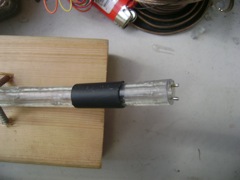
 Heat Shrink Tubing -- continued I use 1 and 1/8" of the heat shrink tubing. The gap between the two rope lights will be 1/8" so that leaves 1/2" of the tubing to overlap each of the two rope light segments. |
 Heat Shrink Tubing -- continued I use a heat gun to heat and shrink the tubing. You might be able to use a hair dryer, but they are designed for lower heat. You can use a lighter if you are careful and keep the tubing moving at all times so it doesn't char. |
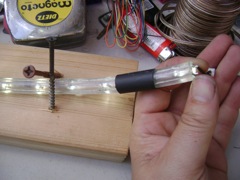
 Put the Heat Shrink Tubing on FIRST Put the heat shrink tubing on first, otherwise you'll have to slide it on from the other end of the rope light, or undo the solder joint, add the tubing, and resolder. Keep the tubing at least half an inch from where you are soldering. |
 Test the Ropelight's Polarity The ropelight, unlike coolneon, is polarized. That is, the plus and minus sides of the power supply must be connected correctly or the rope light won't light up. So, test the rope light and determine which side is plus and which is minus. |
 Mark the Plus side Mark the plus side with a plus sign. Don't mark the minus side. That way, the side with the mark will always be the plus -- you won't ever make a mistake that a plus looks like a minus... it is either marked or not. |
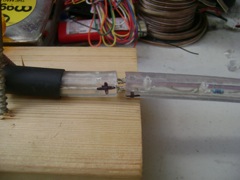 Get Ready to Solder End-to-End Once you have prepared two segments that will be connected end-to-end (stripped, tinned, marked) then place them next to each other with their plus symbols on the same side. Trim the exposed wires if necessary so they are only 1/8" long -- just long enough for you to get your soldering iron tip to touch them between the two plastic ends of the rope light. |
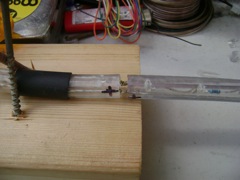 Both Wires Are Soldered The difference between this photo and the previous one is that now both of the wires are soldered. You won't need to add solder -- the fact that all the wires are tinned means that there is already enough solder on them. Place two in contact with each other and just touch the soldering iron to the pair. You might need just a tiny dot of solder on the tip of the iron first, to help heat transfer to the wires. But then, very quickly, the solder on both wires will melt and fuse together. Remove the iron and hold the joint still for a couple seconds until the solder cools. That solder joint is done! |
All information herein is Copyright 2009 by Howard Cohen, all rights reserverd Worldwide. |