
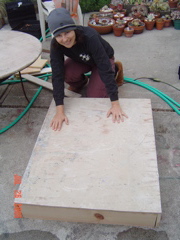
This will become the shower base. I used 1/2" plywood, reused from a previous year's project in this case. It was a bit too wide, so I cut about 4" off one side and 5" off the other. |
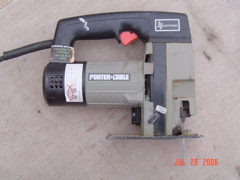
You'll need a jigsaw to cut the wood and PVC parts. This one has been to Burning Man twice! |
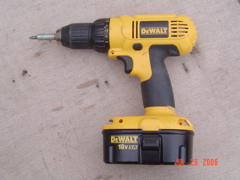
You'll also need drill/driver (there are holes to drill and screws to put in.) |
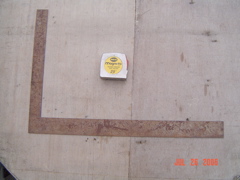
You'll need a tape measure, and a carpenter's square is useful. But, you can use a piece of paper as a square in a pinch. |
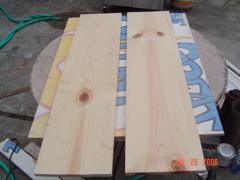
You'll also need some shelf material. I used 1x12 shelves and cut them down the middle to make 4 pieces. |
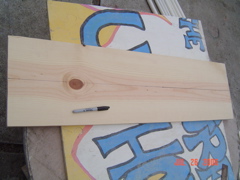
This one is marked for cutting down the middle. |
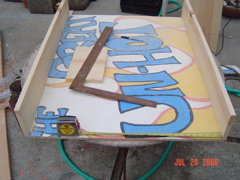
Two shower base sides span the entire width of the shower base. The other two need to fit between the full-length ones. Measure between the full-length ones after placing them on the shower base. |

Place all four shower sides on the ground (rough side down, if there is a rough side). |
Place the shower base on top of the sides, rough side up (if there is a rough side). |
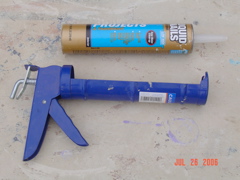
You'll need some construction adhesive. You don't need a whole tube, but don't use "old" adhesive that has begun to dry. |
main | Page 1 | Page 2 | Page 3 | Page 4 | Page 5 | Page 6 | Page 7 | Page 8