|
Before you begin working on your dome make sure you have
a set of gloves and protective glasses or goggles for your
eyes. Metal slivers suck and you should always
use eye protection when working
with tools and metal because debris can get flicked or
thrown up into your face. When you have to repeat the
same operation many times you have to make an extra effort
to stay alert and remain careful.
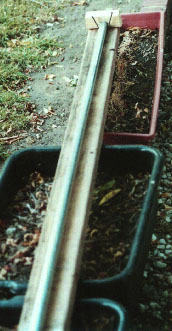
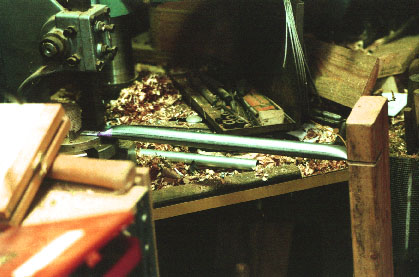
This measuring jig is just a 2x4 with a block screwed on the end.
I have added two screws at the end to help align and center
the conduit and keep it secure while measuring it.
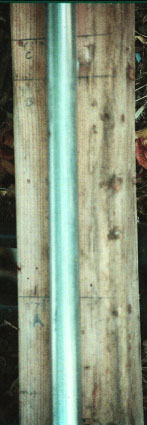
After you determine the length of each strut, place marks
on the measuring tool and label them. I built a 3-frequency
dome so I needed three different lengths: A, B and C.
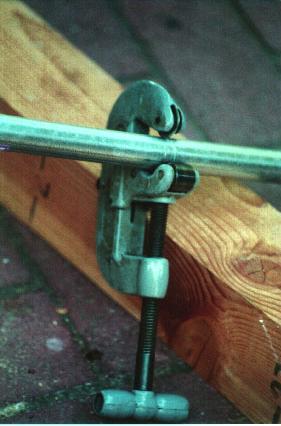
After marking the conduit using the measuring jig, cut it using
a pipe cutter. A pipe cutter is easy to use and creates
no metal shavings like a hacksaw would. You rotate the
cutter about the conduit, turning the handle a quarter turn
each time.
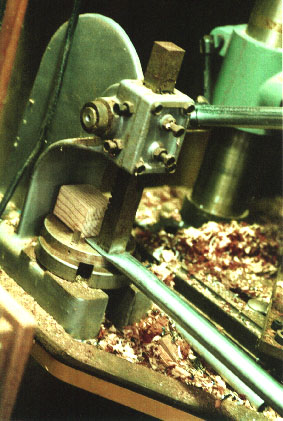
Flatten the end using an arbor press or you could hammer
them flat against a piece of steel. I added a 3 foot
lever arm (piece of conduit) to the arm of the press
to make it easier to crush the ends.
Don't forget: You must place the welding seam of the
conduit at a 45 degree angle with respect to the
press base. In other words, the weld seam
cannot be at the top, bottom, or either side,
but 45 degrees from any of those positions is OK.
This jig is simple to make -- it is just a 2x4 with a slot
cut in the side perpendicular to the length of the 2x4.
The slot must be just wide enough to fit a flattened end.
You use this jig to ensure that when you flatten the other
end of the strut it is in the same plane as the
first end.

PreviousNext
|